

- Create and issue a contract yourself when you prepare an agreement for one customer, such as a private office with its own price, start date, and signatories.
- Link a contract to a membership or rental plan to have every customer who signs up for the plan on their own sign it at checkout.
Prerequisites
- Create and upload your contract templates.
- Create the memberships, resources, and one-off services the customer will receive, so you can add them to the contract’s Items section.
Create and issue contracts yourself
Create a contract
- Go to the Billing > Contracts page.
- Press Create contract in the top-right corner.
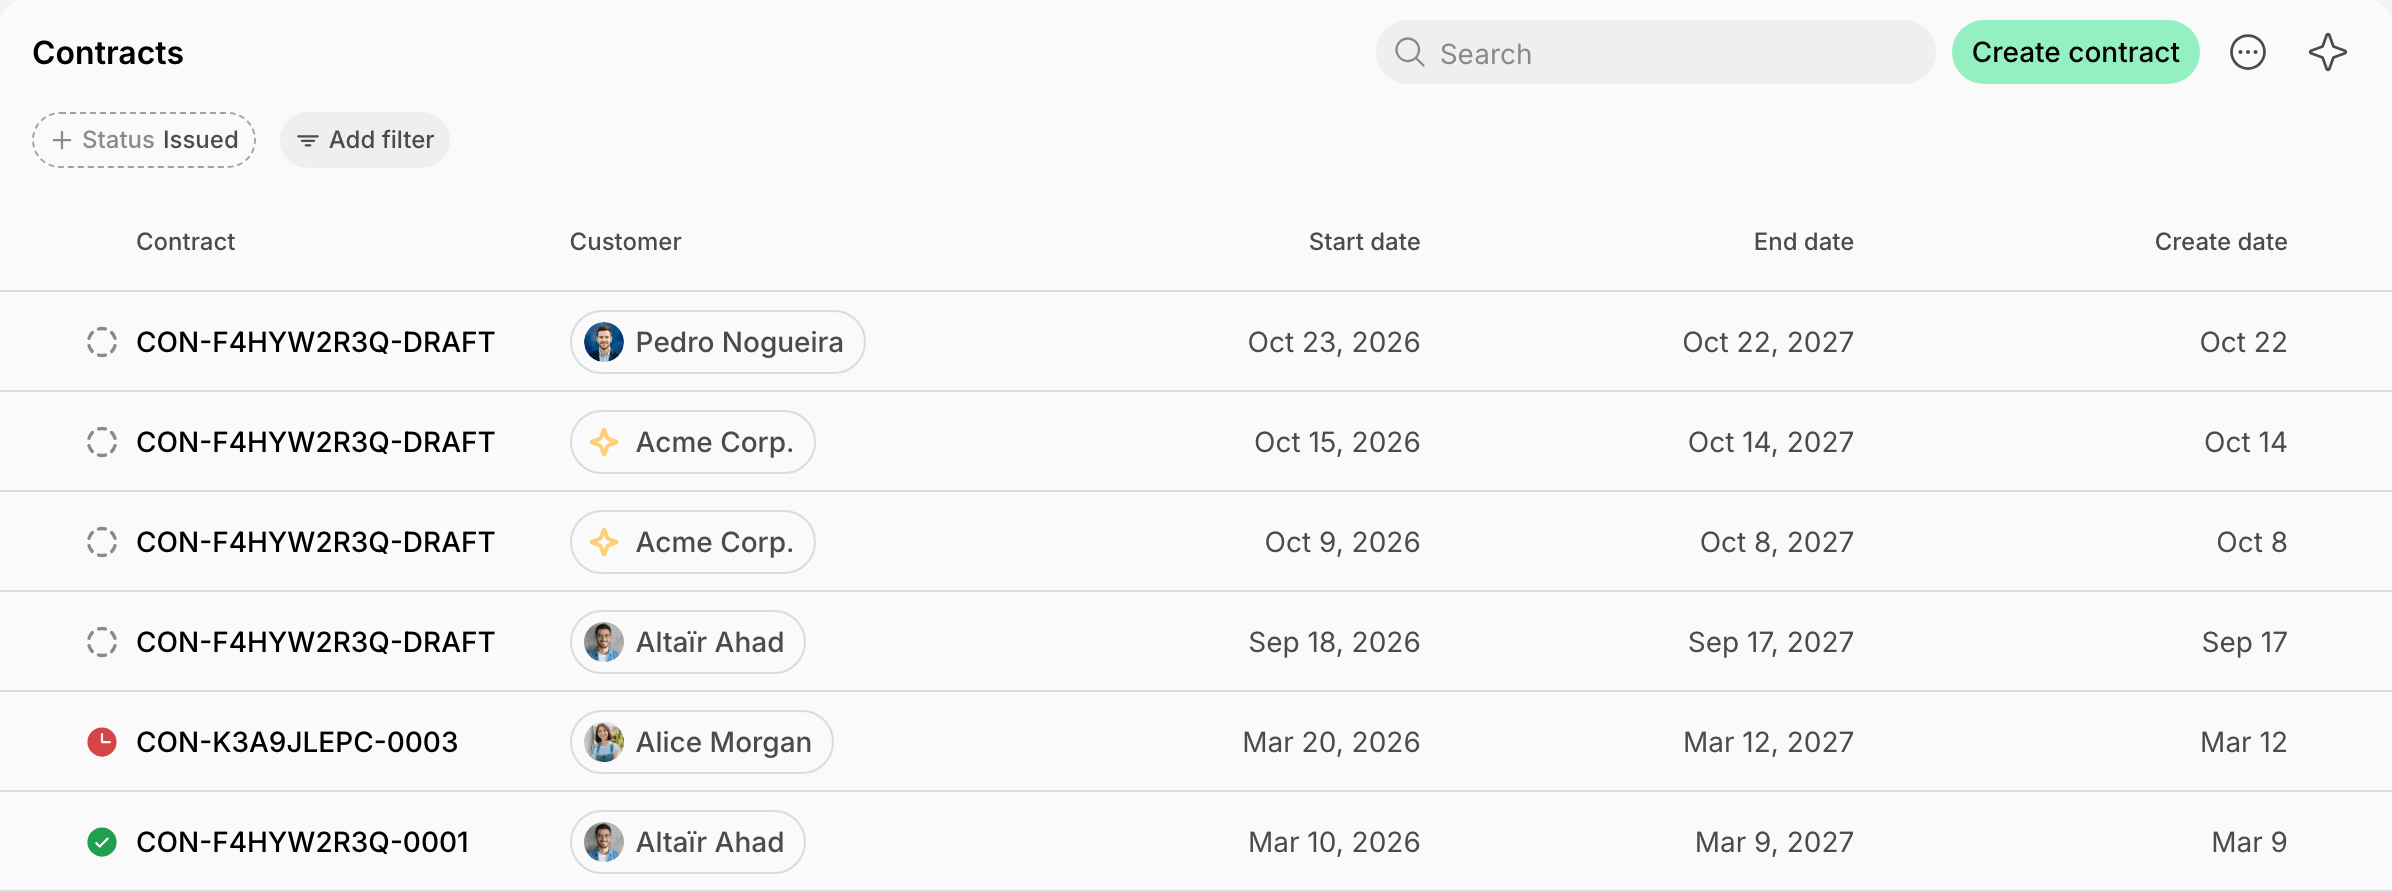
- Fill in the contract details:
- Customer
- Template
- Expiration date — the signing deadline. If nobody signs by that date, the contract is declined automatically and shows as Expired.
- Items — the recurring and one-off services the customer receives. Set each item’s quantity, adjust its unit price, or apply a coupon discount. You can apply coupon discounts to recurring items only.
The expiration date cannot be in the past. For a contract issued for eSignature, it must also be within 90 days from the issue date.
You can only add existing memberships, rental plans, and shop products to a contract. You can’t add a Custom item — create it as a membership or shop product first.
- If the contract has at least one recurring item, also fill in:
- Start date — a past date creates a backdated contract.
- End renewal — select On date to set an end date, or Never if the contract has none.
- Create subscription from contract
- If enabled, once all parties sign, the following happens automatically:
- The subscription activates on the selected start date.
- The first invoice, including all items you added, is issued to the customer.
- If disabled, the administrator must manually create a subscription for the customer.
- If enabled, once all parties sign, the following happens automatically:
- If the contract has one-off items only, also set Issue invoice from contract.
- If enabled, the customer automatically receives an invoice with the selected items when the contract is fully signed.
- If disabled, the administrator must manually issue the invoice to the customer.
With both recurring and one-off items, the one-off items appear only on the first subscription invoice and are removed from the subscription after the first billing period.
- Fill in the Signatories section.
- Select the Party: Customer for the customer side or Location for your side.
- Select the Signatory. For a company, the list shows its members with managers first; for an individual member, that member; for the location, its administrators. Their name, email, and phone number fill in from their profile.
- To add someone not on the list, select Other and enter their name, email, and phone number (optional).
- You can add unlimited signatories on both sides. Then, drag and drop them to define the order in which you want all signatories to receive a contract email for signature (if you use eSignature).
A contract must have at least one customer-side signatory. Location-side signatories are optional.
- Press Create, then review the contract before you issue it.
Issue a contract
Open the contract and choose how to collect the signatures:- Press Issue for eSignature to email the contract to the signatories, who sign it online.
- Press Issue for external signature to collect the signatures yourself. Nothing is sent to the customer, so click (…) > Download unsigned PDF, share it, and record the signatures manually.

How contracts issued by administrators work
When all signatories sign the contract:- The status changes to Signed, and the signed document is stored on the contract.
- If Create subscription from contract is enabled, the subscription is created and activates on the start date.
- If Issue invoice from contract is enabled, the invoice with the contract items is issued.
- Administrators with contract notifications enabled are notified.
Link contracts to membership and rental plans
You can link contract templates to membership and rental plans, so customers who sign up for a plan on their own are automatically issued a contract to sign.Select a contract for a plan
To link a contract to a plan:- eSignature must be enabled for the location. Customers sign contracts linked to plans only with eSignature.
- The membership or rental plan must have Sign-up enabled and the Immediate type.
- Turn on eSignature for the location.
- Open a membership plan or a rental plan with Sign-up enabled and the Immediate type.
- Under Contract, select a template.
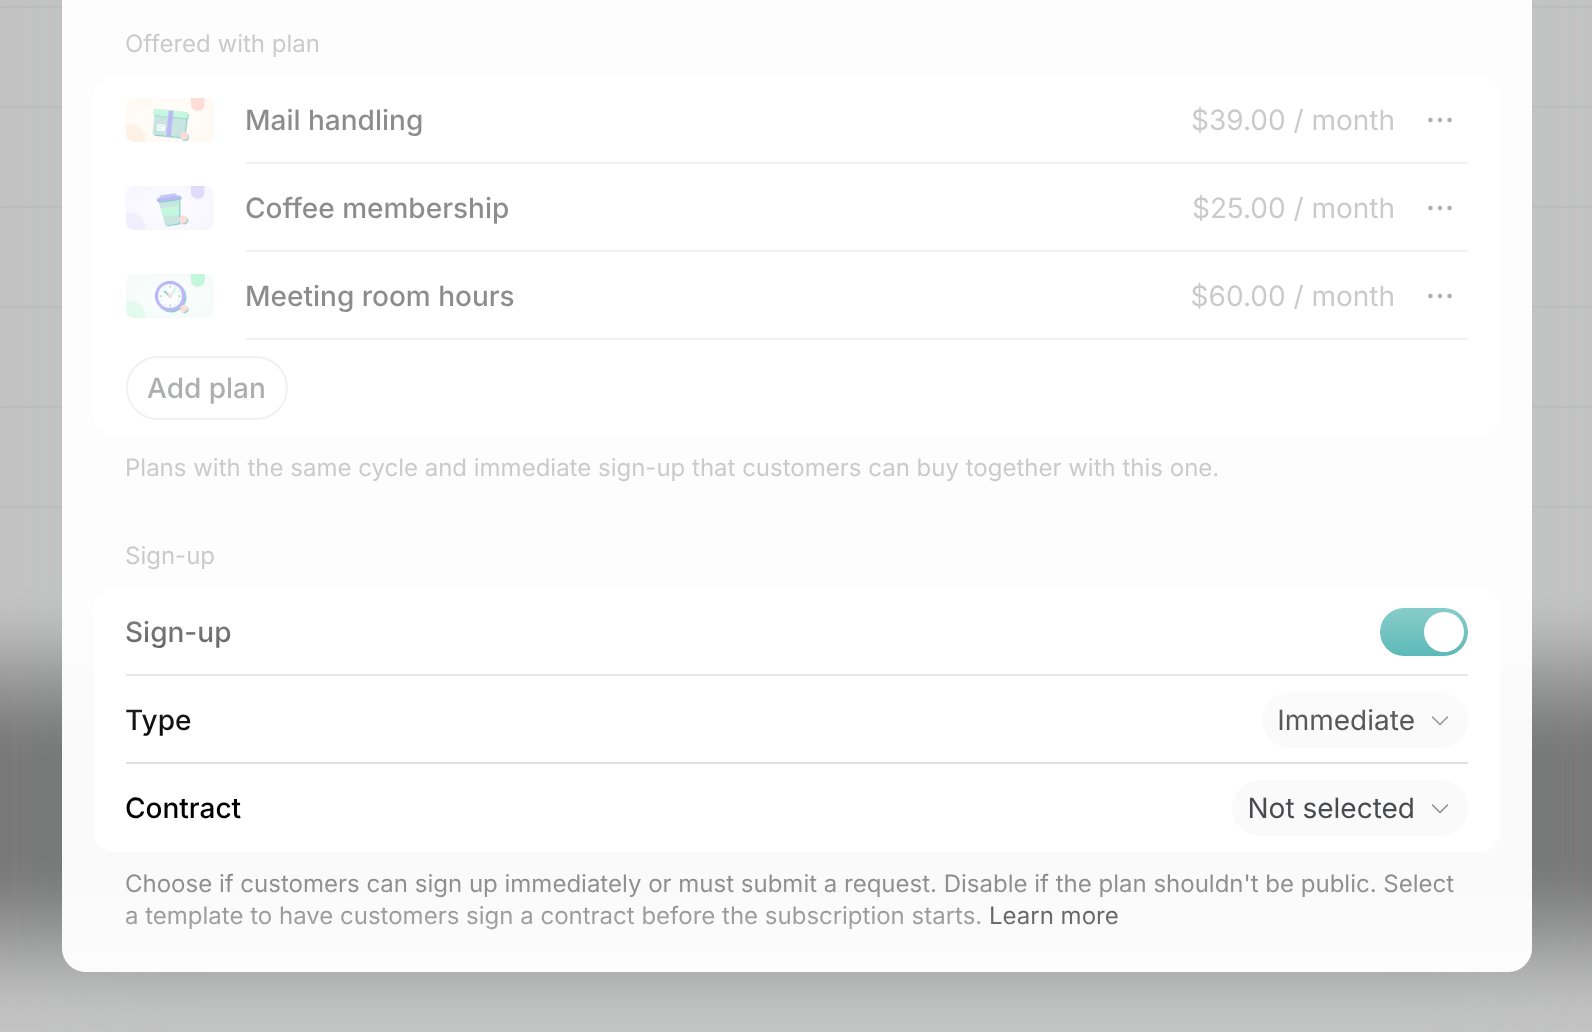
Customers get a contract issued each time they click Continue to contract at checkout. Contracts issued for eSignature are billed as eSignature requests, signed or not.
How customers receive and sign contracts at sign-up
When a customer signs up for the plan on their own and clicks Continue to contract at checkout: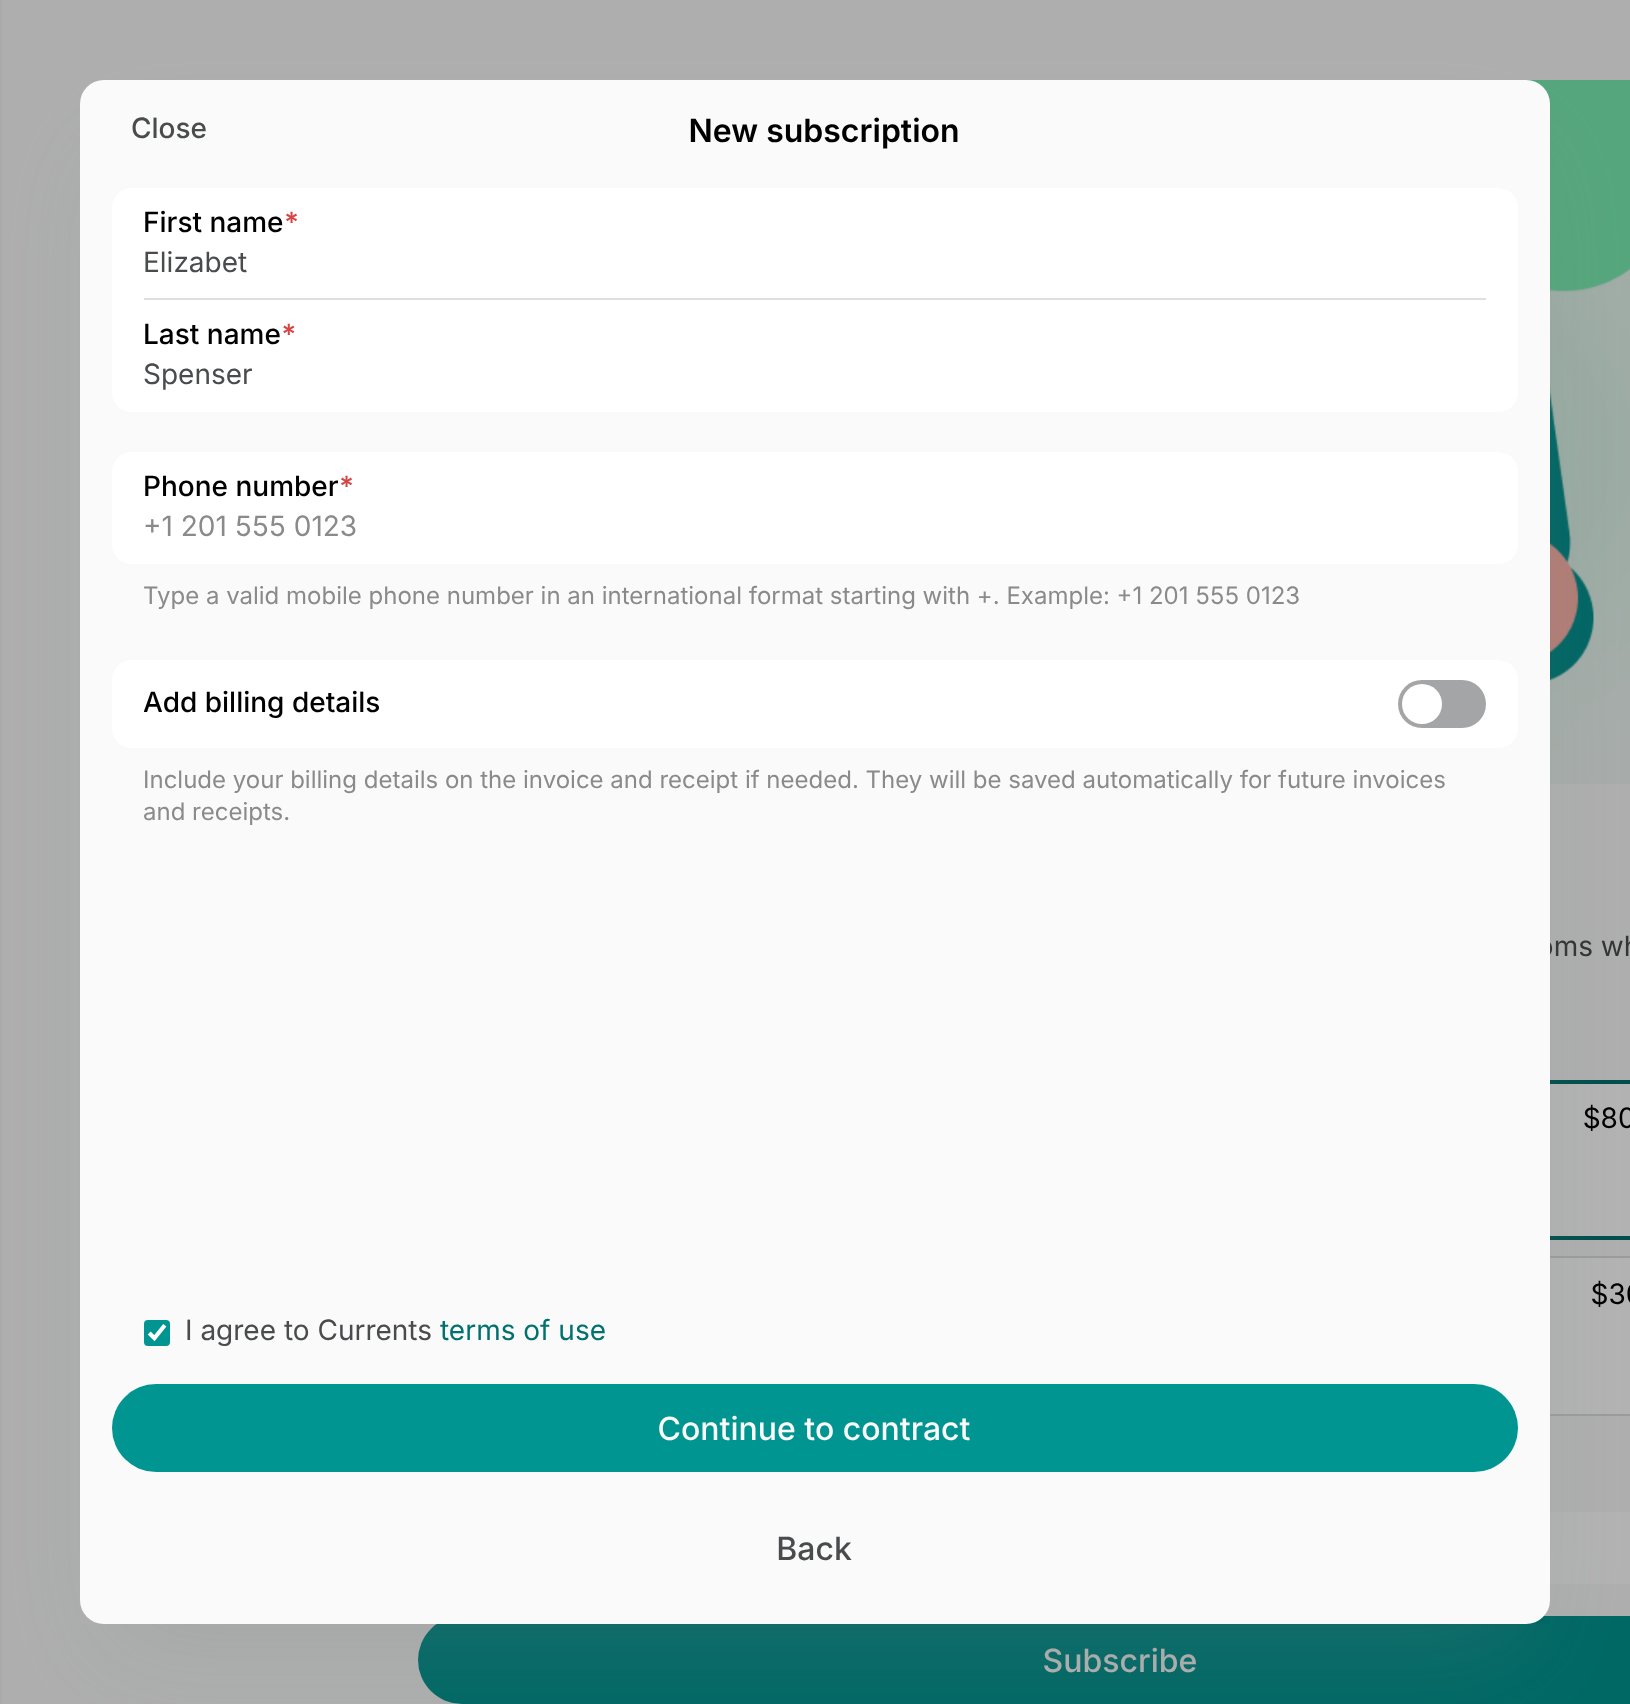
- A contract is issued for eSignature from the plan’s template. Its items are the plan and any plans added to it, and the person signing up is its only signatory.
- The placeholders you added to the template are filled in with the details the customer entered at checkout. For example,
{customer.signatory.fullName}shows their name,{customer.legalName}and{customer.businessAddress}the billing details they added, and{contract.startDate}the start date they chose.
- The placeholders you added to the template are filled in with the details the customer entered at checkout. For example,
- The customer signs it on the signing page that opens, within 30 minutes.
- If they decline it or don’t sign it in time, the contract is declined and the sign-up is canceled. A contract nobody signed in time shows as Expired.
- Once it’s signed, the contract gets the Signed status. Administrators with contract notifications enabled are notified.
- The customer’s subscription starts on the start date they chose.
- The first invoice is issued when the subscription starts. It’s charged automatically to the customer’s default payment method if they have one, or the customer pays it like any other invoice.
Track contracts
- Go to the Billing > Contracts page to see all contracts with their statuses and dates.
- Search by contract title, or filter by Status, Customer, or Create date period.
- Filter by Status to hide declined or terminated contracts from the list. The Declined status also includes expired contracts.
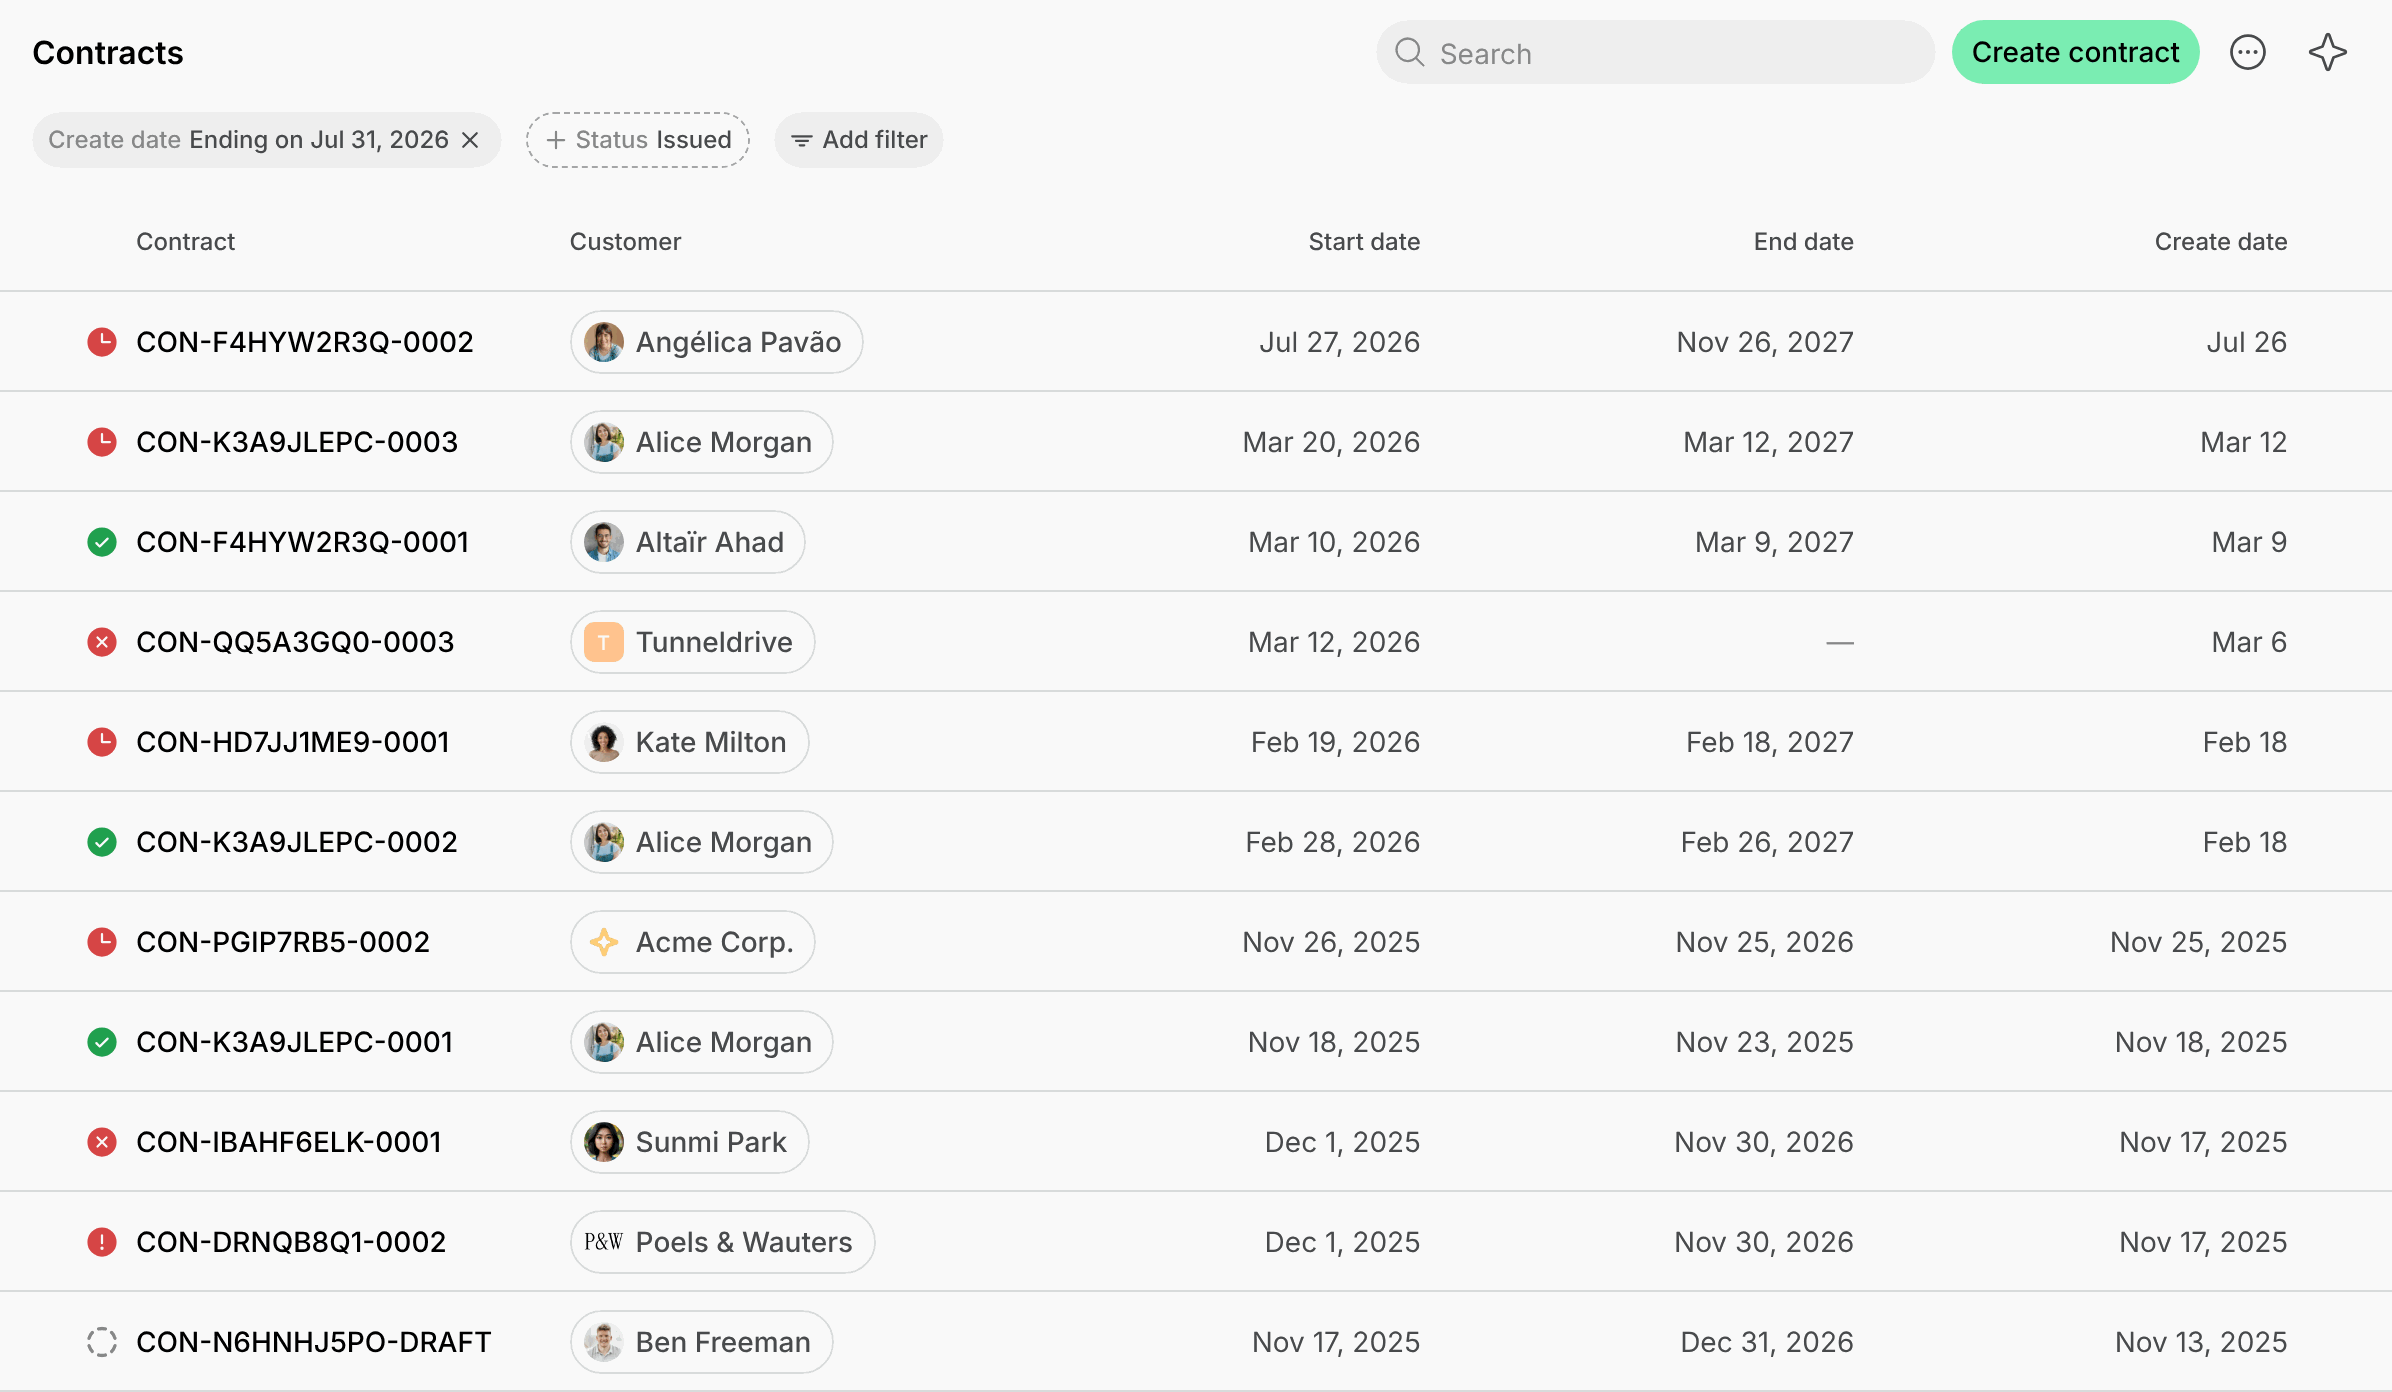
- Draft — created but not issued. Only drafts can be edited or deleted.
- Issued — sent for signature and not signed yet.
- Signed — every signatory has signed.
- Declined — a signatory declined it, or nobody signed before the expiration date. A contract nobody signed in time shows as Expired.
- Terminated — a signed contract that you ended before its end date.

Manage contracts
Edit or delete a draft contract
You can edit or delete a contract only while it is in the Draft status. An issued contract can’t be edited or deleted, even if nobody signed it — decline it instead.- Open the contract.
- To turn Create subscription from contract or Issue invoice from contract on or off, use its switch on the right. The change saves right away.
- Click the (…) button in the top right corner.
- Select Edit to adjust details, or Delete to remove the draft.

Decline an issued contract
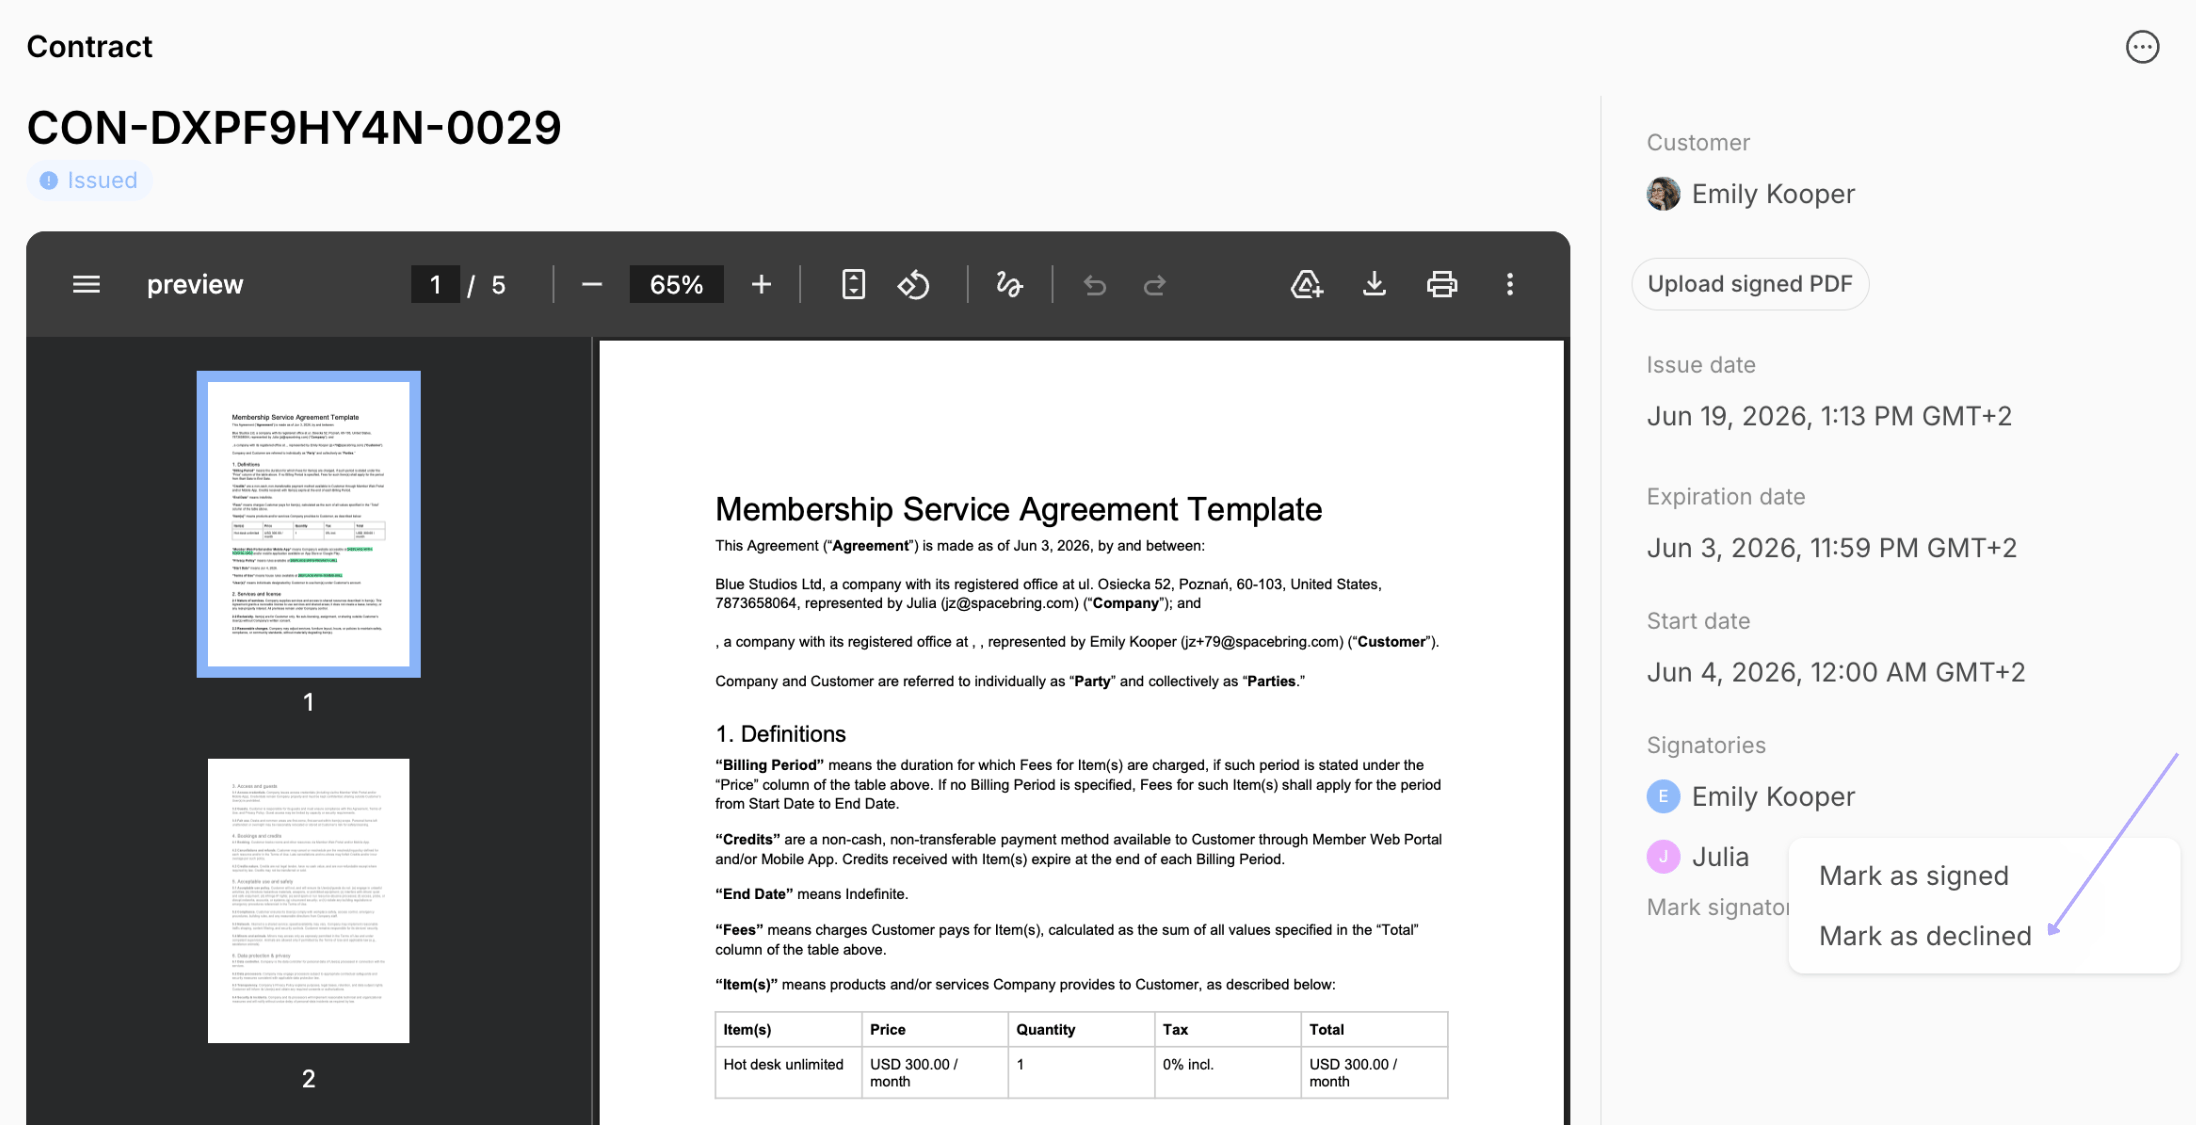
You can’t delete an issued contract, so decline it when it needs to be corrected, was issued by mistake, or should no longer be signed.- Open the contract.
- Find the Signatories section in the right-hand panel.
- Click (…) > Mark as declined next to your space’s signatory name, or next to the customer’s name if only the customer was expected to sign.
- Issue a new contract, if needed.
Terminate a signed contract
Terminate a signed contract to end the agreement before its end date.- Open the contract.
- Click the (…) button in the top right corner.
- Select Terminate and choose the reason.

Export a contracts report
On the Contracts page, apply the necessary filters, then click (…) in the top right corner > Export contracts > CSV or XLSX to download a report on the filtered contracts. To export only some contracts, select their checkboxes, then press Actions > Export > CSV or XLSX at the bottom of the page.