

Set up eSignature
- Go to the Location settings > Billing > Contracts page.
- Enable the eSignature switch.
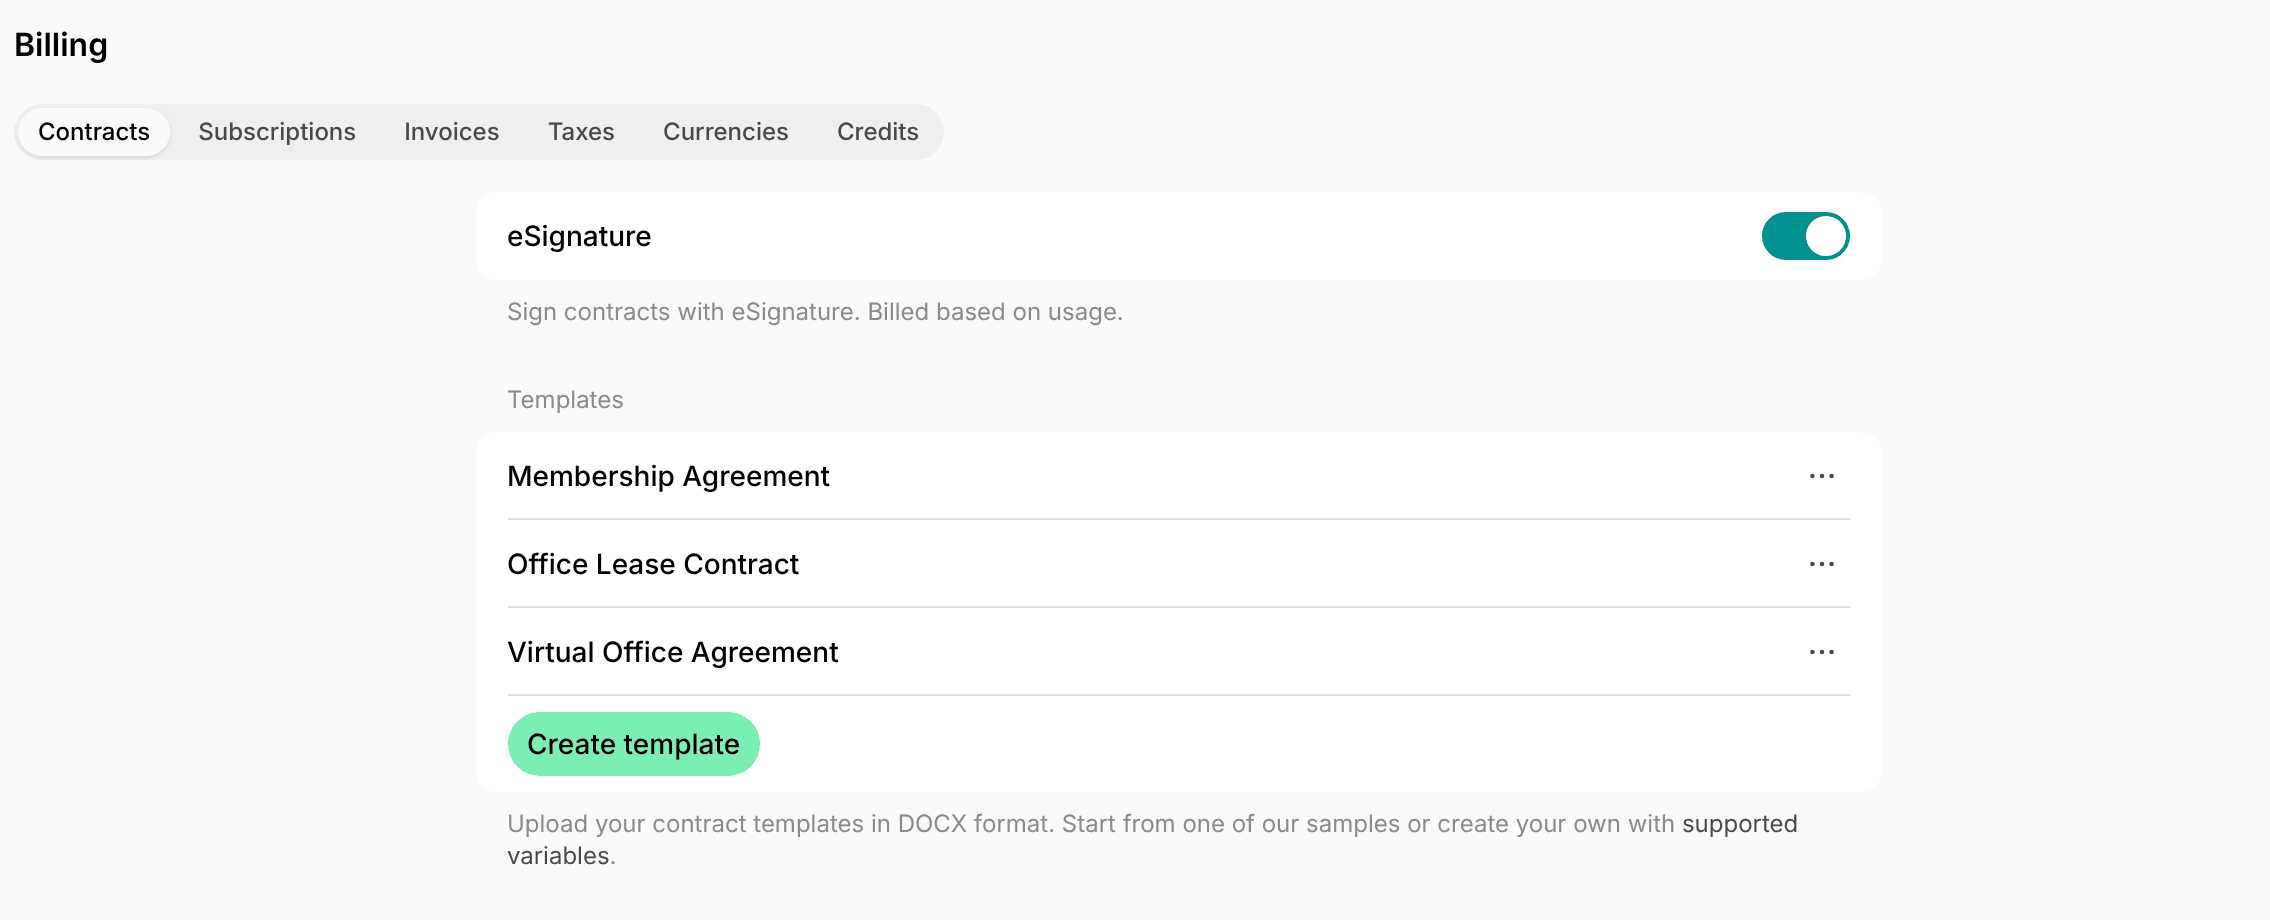
- Create and add your contract templates in the Templates section of the same page. Contracts issued for eSignature are generated from them.
- Include the signature placeholders in the template:
{customer.signatory.signature}marks where the customer signs, and{location.signatory.signature}where your location’s signatory signs. - Place
{customer.signatory.signature_date}and{location.signatory.signature_date}next to them. - Add any other placeholders you need, such as customer details, contract dates, and items — they are filled in automatically when you create a contract.
- Include the signature placeholders in the template:
eSignature is billed based on the number of contracts issued, according to our pricing.
Issue contracts for eSignature yourself or at plan sign-up
A contract is issued for eSignature in one of two ways:- You issue it to one customer, such as for a private office with its own price, start date, and signatories.
- A customer signs up on their own for a membership or rental plan with a contract linked to it, and a contract is issued to them at checkout.
Issue a contract yourself
- Go to the Billing > Contracts page and create a contract for the customer.
- Add the signatories: both customer and location, or the customer only if no signature is required from your side.
- Drag and drop the signatories to define the signing order.
Signing is sequential — each person receives the contract for signature only after the previous signatory has signed it.
- Open the created contract and click Issue for eSignature.

Resend a contract for eSignature
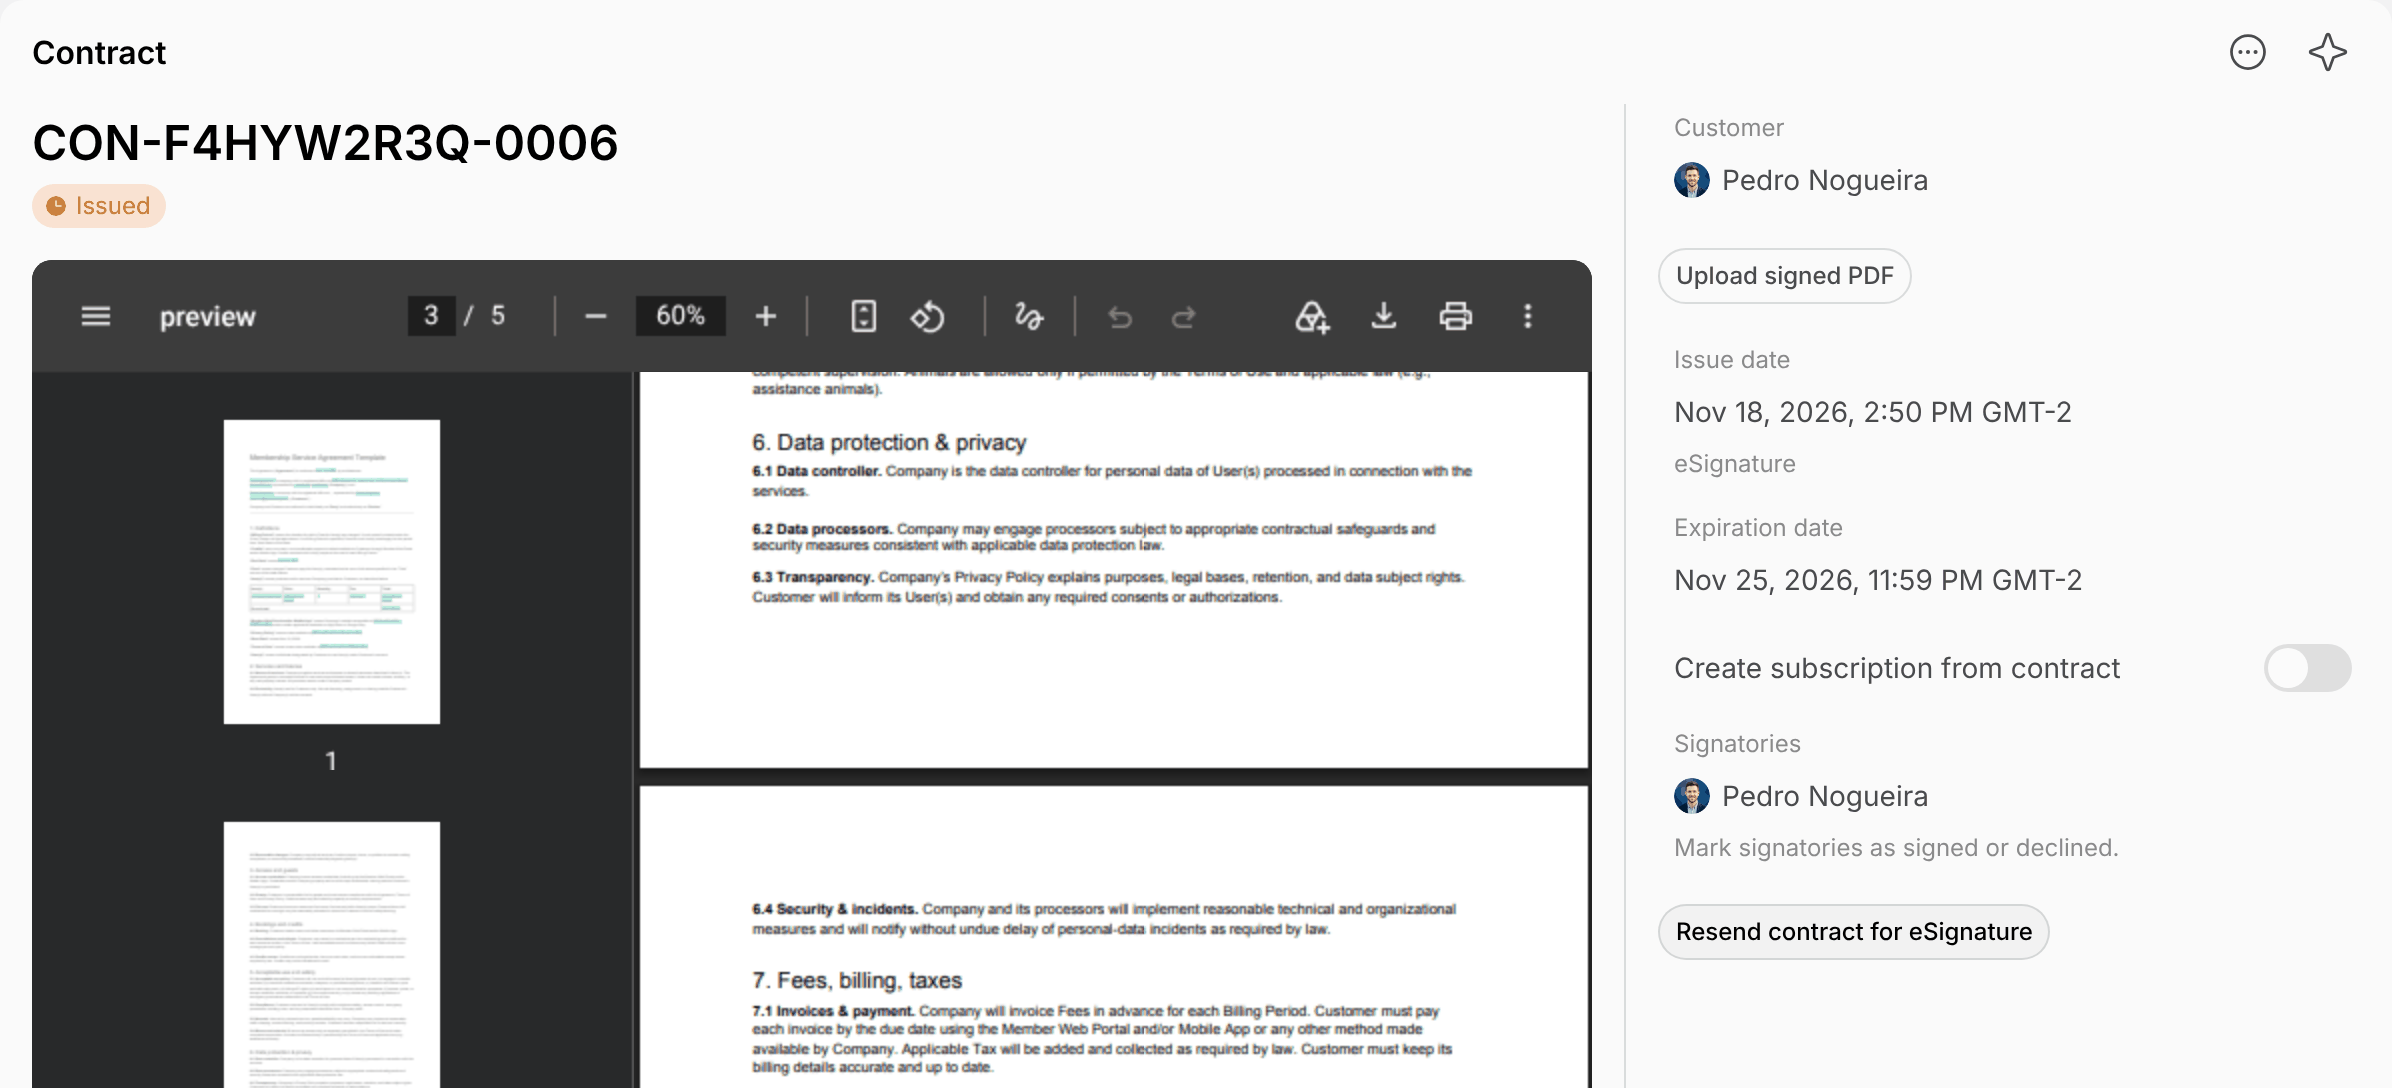
If a signatory can’t find or lost their signature request email, resend it to remind them to sign.- Open the issued contract.
- Press Resend contract for eSignature.
Issue contracts at plan sign-up
- Select a contract template for a membership plan or a rental plan with Sign-up enabled and the Immediate type.
- When a customer signs up for the plan on their own and clicks Continue to contract at checkout, a contract is issued to them for eSignature from that template, with them as its only signatory.
Customers get a contract issued each time they click Continue to contract. Contracts issued for eSignature are billed as eSignature requests, signed or not.
How customers sign contracts electronically
How a signatory gets to the signing page depends on how the contract was issued:- A contract you issue — the first signatory receives it by email and clicks Open contract. With several signatories, the next one receives the same email after the previous one has signed.
- A contract issued at plan sign-up — the signing page opens at checkout, and the customer signs within 30 minutes. If they decline it or don’t sign it in time, the sign-up is canceled.
- Reads the contract and taps Click to sign.

- Draws, types, or uploads their signature.

- Confirms their signature.
- A contract you issue — the subscription and invoice are created if you enabled them on the contract. Learn how contracts issued by administrators work.
- A contract issued at plan sign-up — the customer’s subscription starts on the start date they chose. Learn how customers receive and sign contracts at sign-up.
Manage external signatures
If a customer signs the contract on paper, record the signature and upload the signed document into Spacebring.Mark the contract as signed
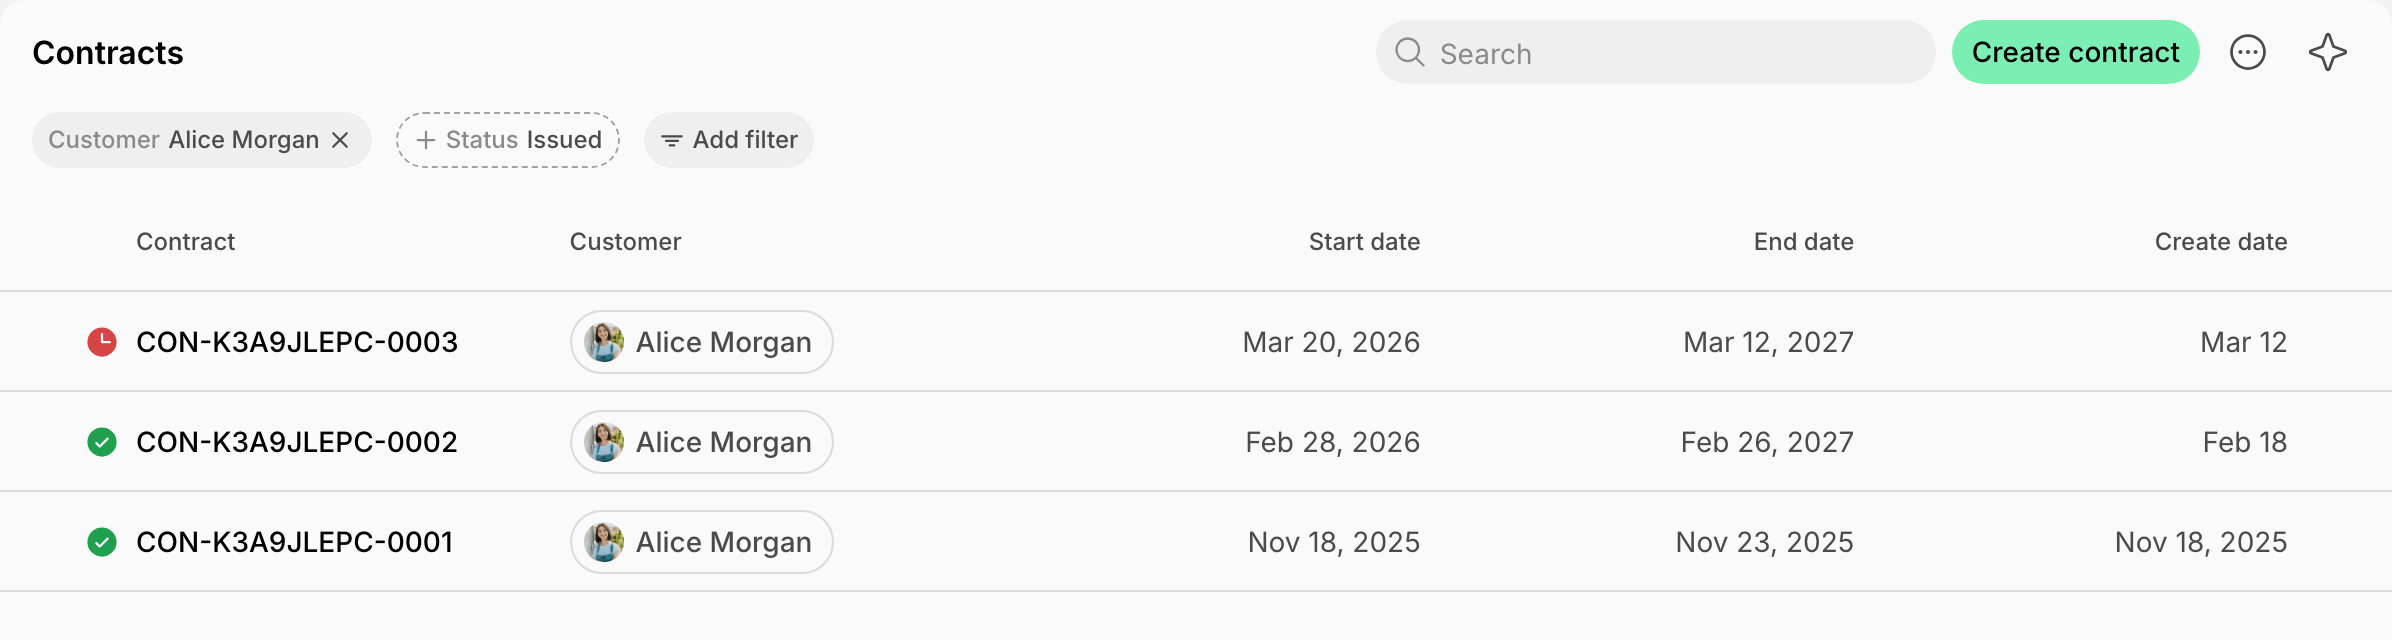
Once the customer has signed:- Go to Customers > open the customer profile > Contracts page. Alternatively, go to the Billing > Contracts page and use the filters to find the necessary contract.
- Open the necessary contract.
- In the Signatories section, press the menu (…) next to the signatory’s name > select Mark as signed.

- Press Upload signed PDF to upload the final document.
The signed document must be a PDF file (
.pdf), up to 50 MB.
Once a contract is declined or expired, you can no longer mark it as signed or upload the signed document. Issue a new contract instead.
Mark the contract as declined
If a signatory declines the contract, open the contract, press the menu (…) next to their name > select Mark as declined. The contract status changes to Declined, and the customer’s subscription is not created.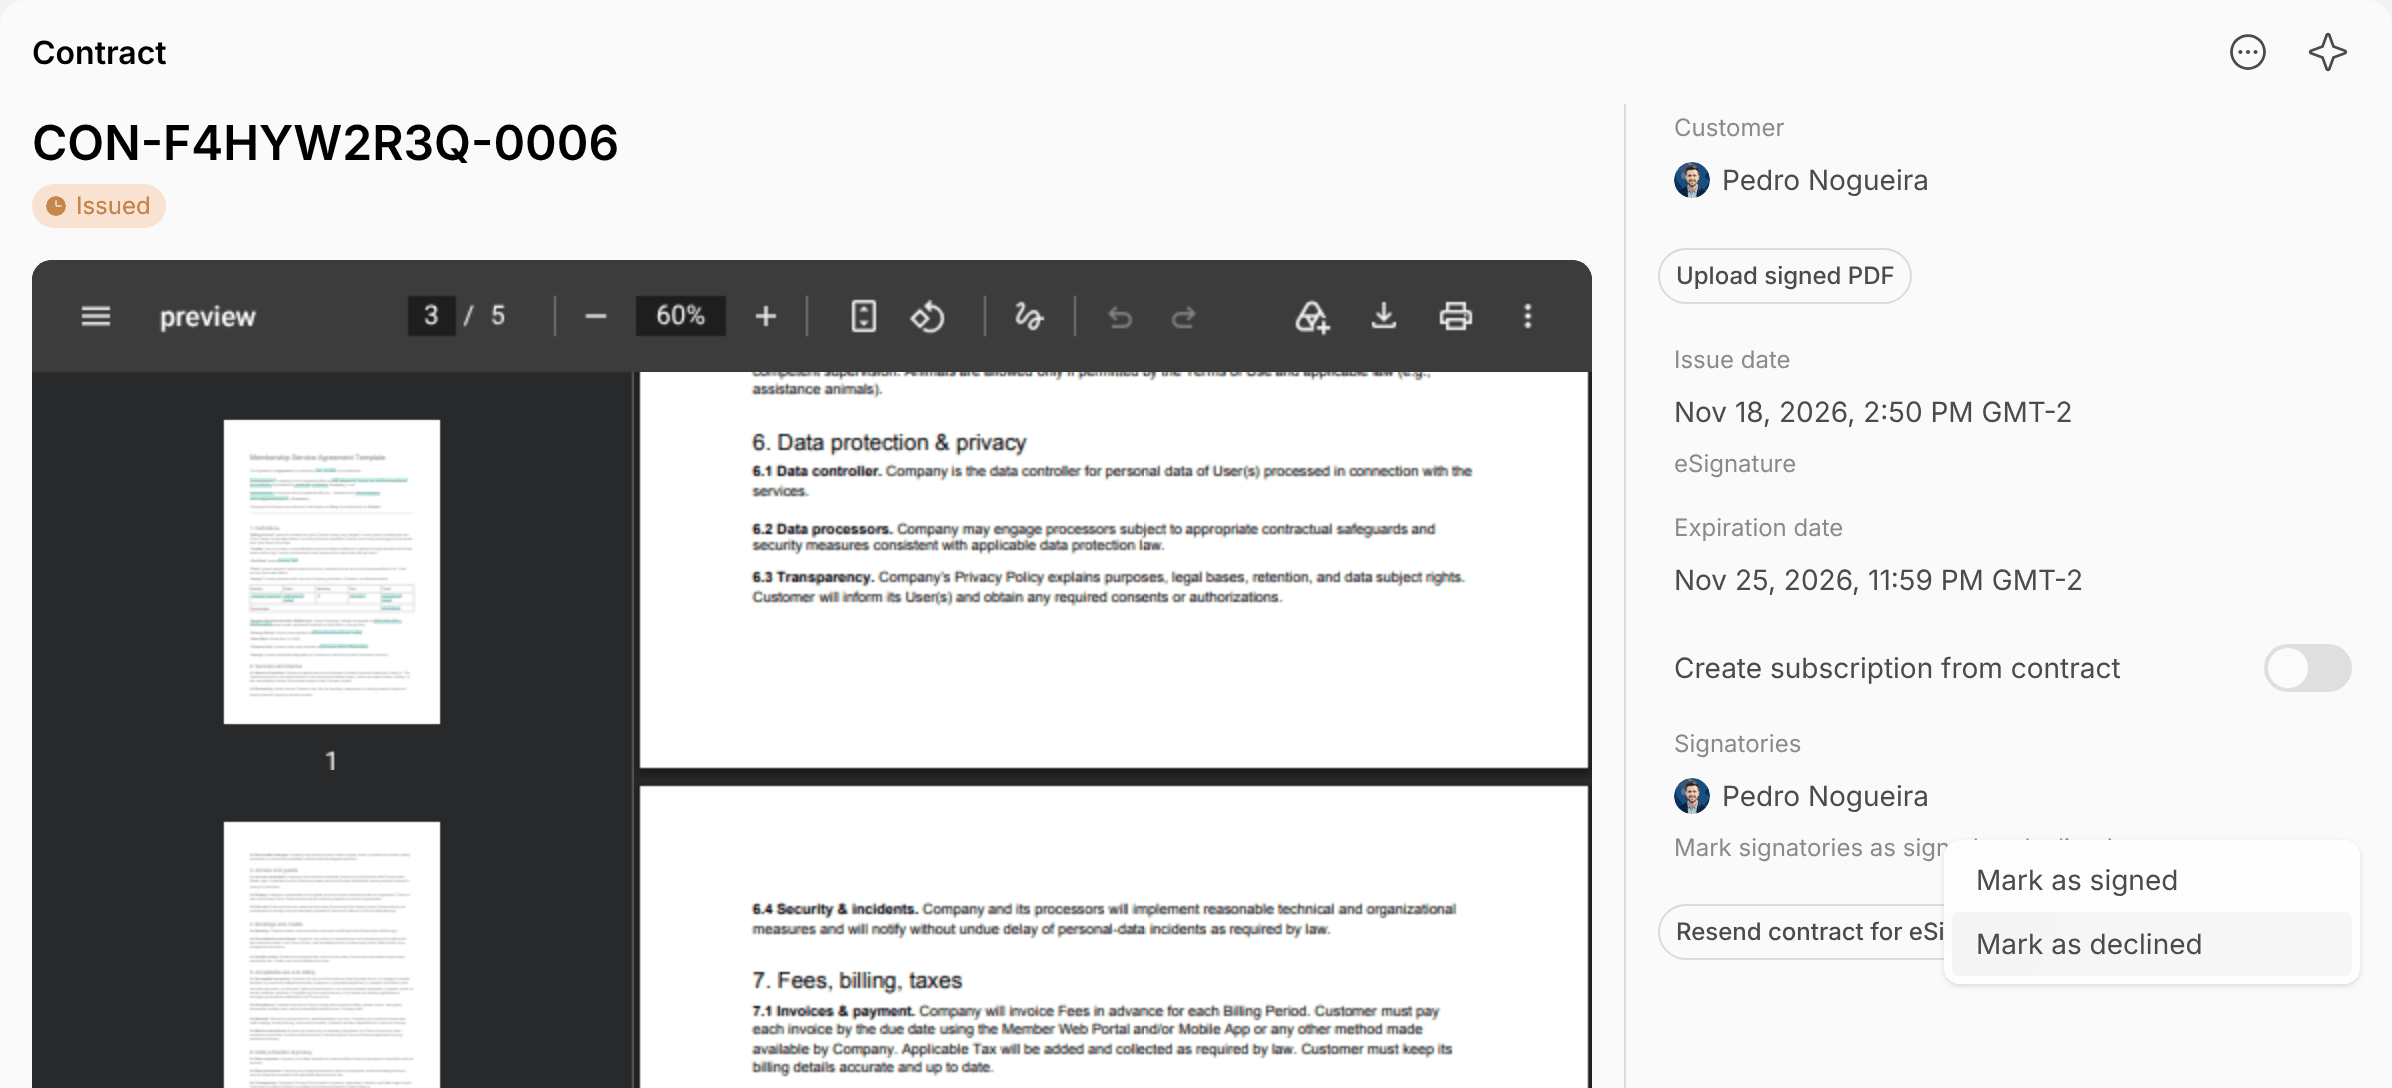
FAQs
Is eSignature legal in my country?
Is eSignature legal in my country?
Spacebring uses Dropbox Sign for electronic signatures. Check the legal recognition of eSignatures in your country.
Why didn't I get the eSignature email to sign the contract?
Why didn't I get the eSignature email to sign the contract?
With several signatories, signing is sequential: the contract goes to the first signatory in your order, then the next. If the previous signatory hasn’t signed yet, it doesn’t reach your inbox. If they have signed and you still don’t see it, check the following:
- When issuing the contract, make sure you click Issue for eSignature, not Issue for external signature.
- Make sure the signatories’ email addresses are typed correctly.
- Look in your spam and junk folders in case the contract email was filtered there.
- Check any other email filters you have set up.
- If the email still hasn’t arrived, open the contract and press Resend contract for eSignature to send it again.
How do I prevent signatures from jumping to a new page?
How do I prevent signatures from jumping to a new page?
To keep signatures in their designated spots and avoid an extra page at the end of the document, include both the signature and the date placeholders together:
{customer.signatory.signature}and{customer.signatory.signature_date}{location.signatory.signature}and{location.signatory.signature_date}, if the location signs too